Save the project & export images#
Save Project#
You can save your project by clicking on File>Save Project. In the window Save Project, click on the beamtime to include in your save (here only Tutorial.mat). You can add extra files to the archive that will be created, if needed. For example, you can include the images you have exported or the merged images you have created.
Export image#
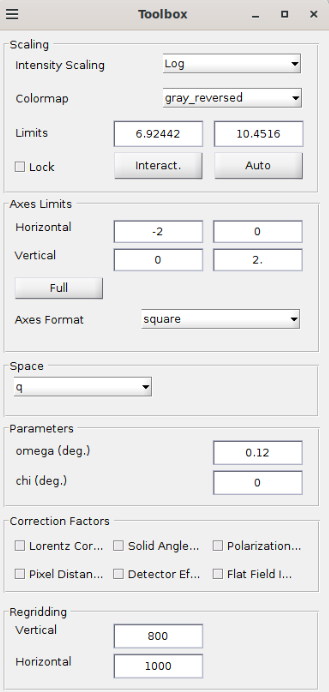
You can set-up the image you see in the window GIDVis with the parameters in the window Toolbox (q range, color range, color map …):
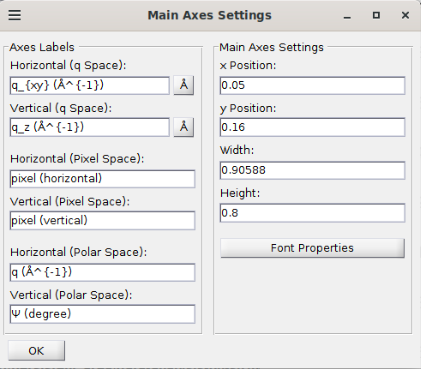
You can set the axis (large font range, shift the image) with the menu Tools>Axes Settings:
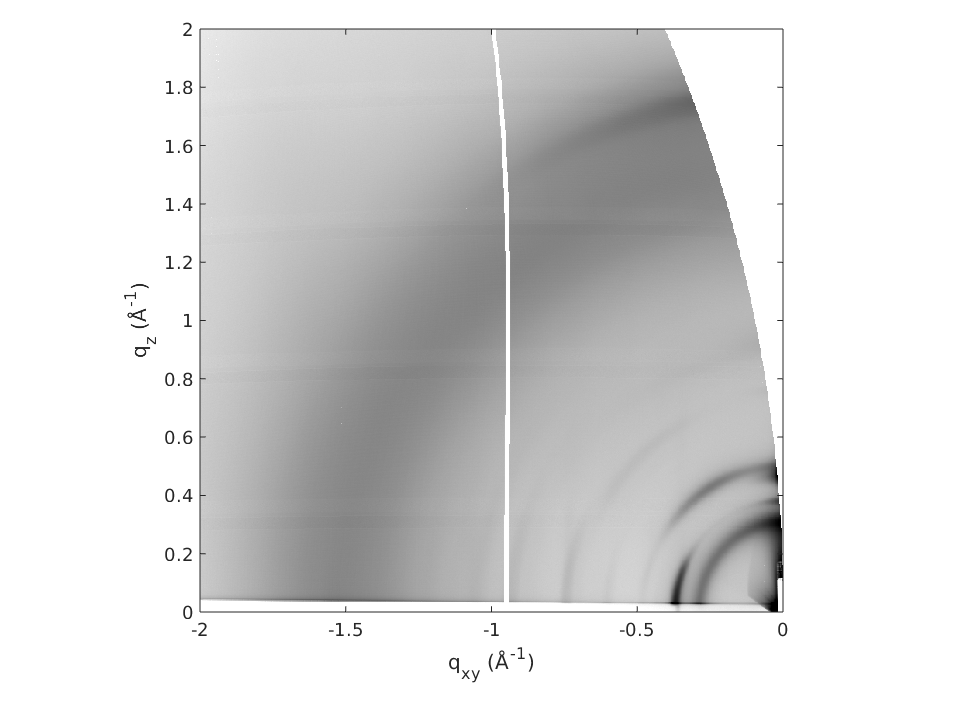
Then on File>Save Image you have extra parameters for the image display. Click on Export to export the image, here for example:
Unfortunately, GIDVis does not offer a proper way to export the image as a raw 2D matrix that could be imported in another software.